


- Description
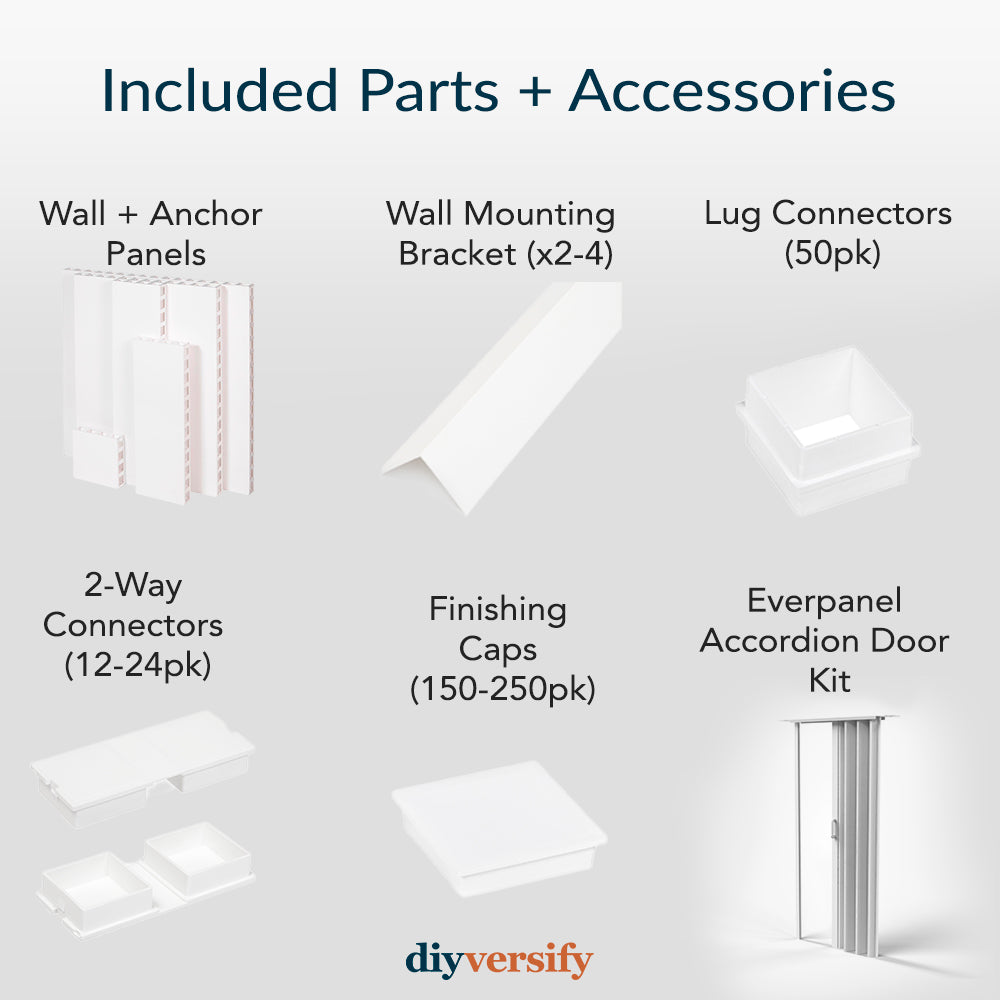
- What's Included
- Before You Buy
- Assembly Guides
- Shipping & Returns
- FAQs
- Panel Specifications
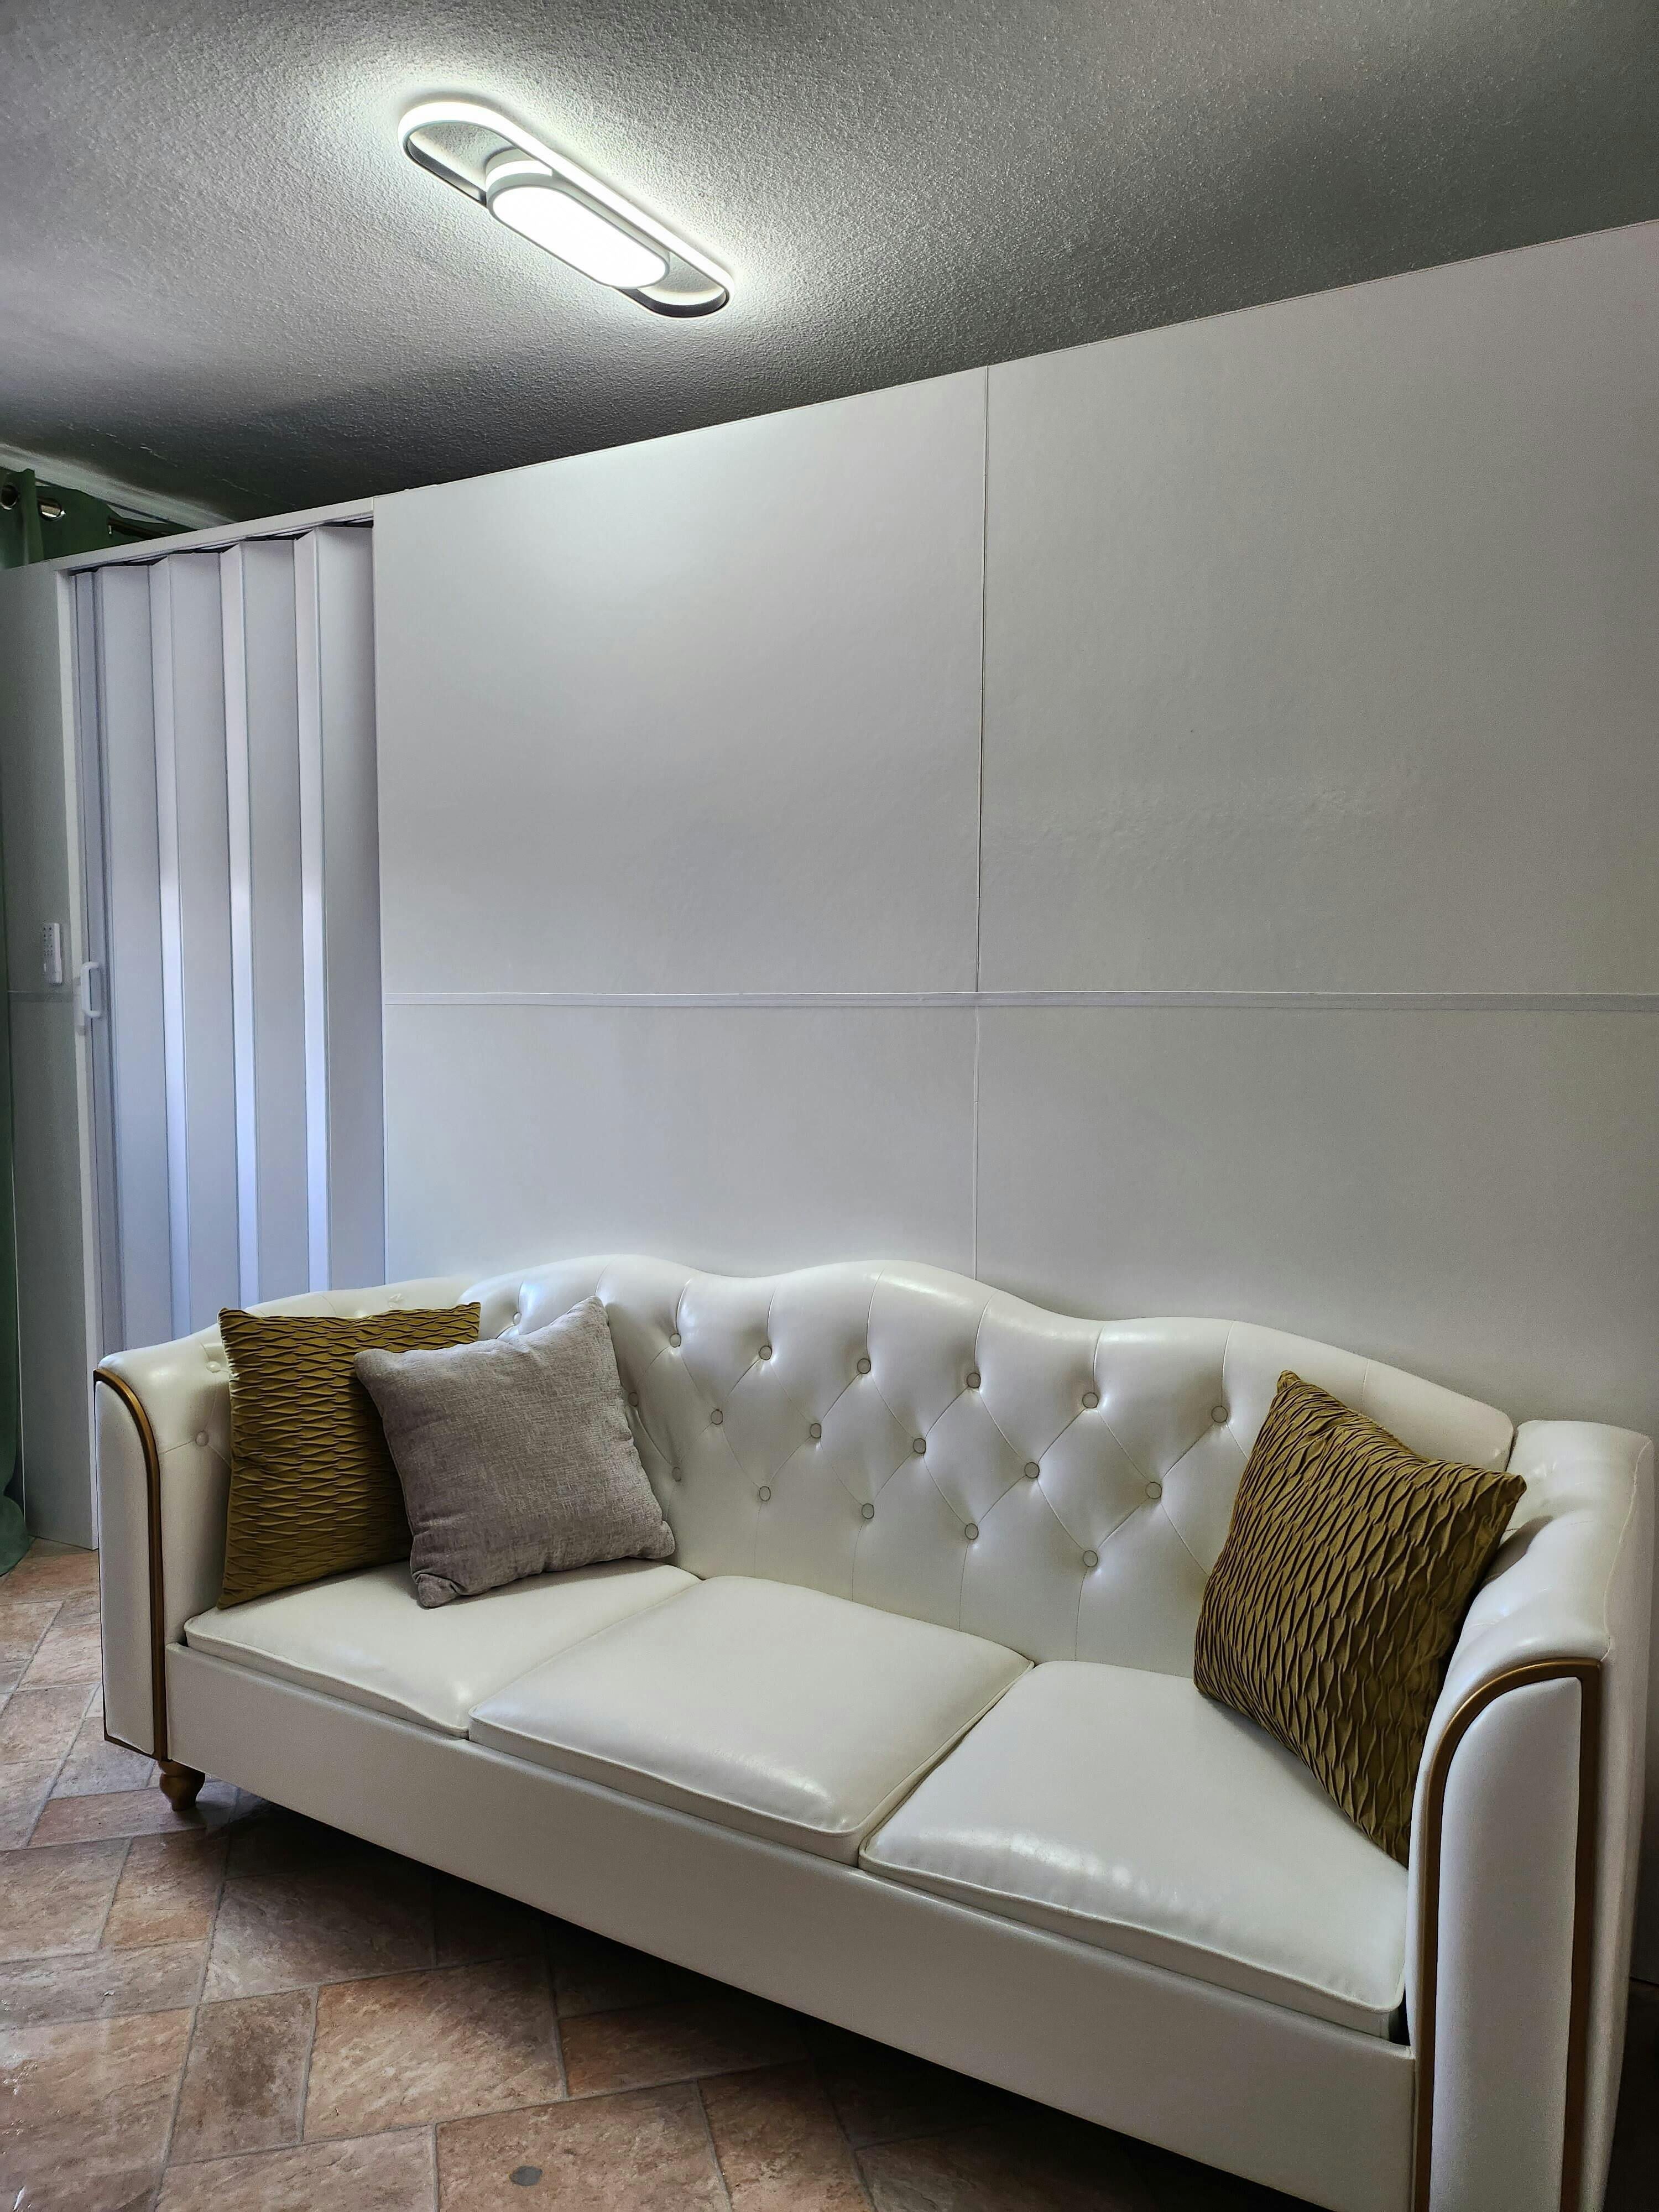
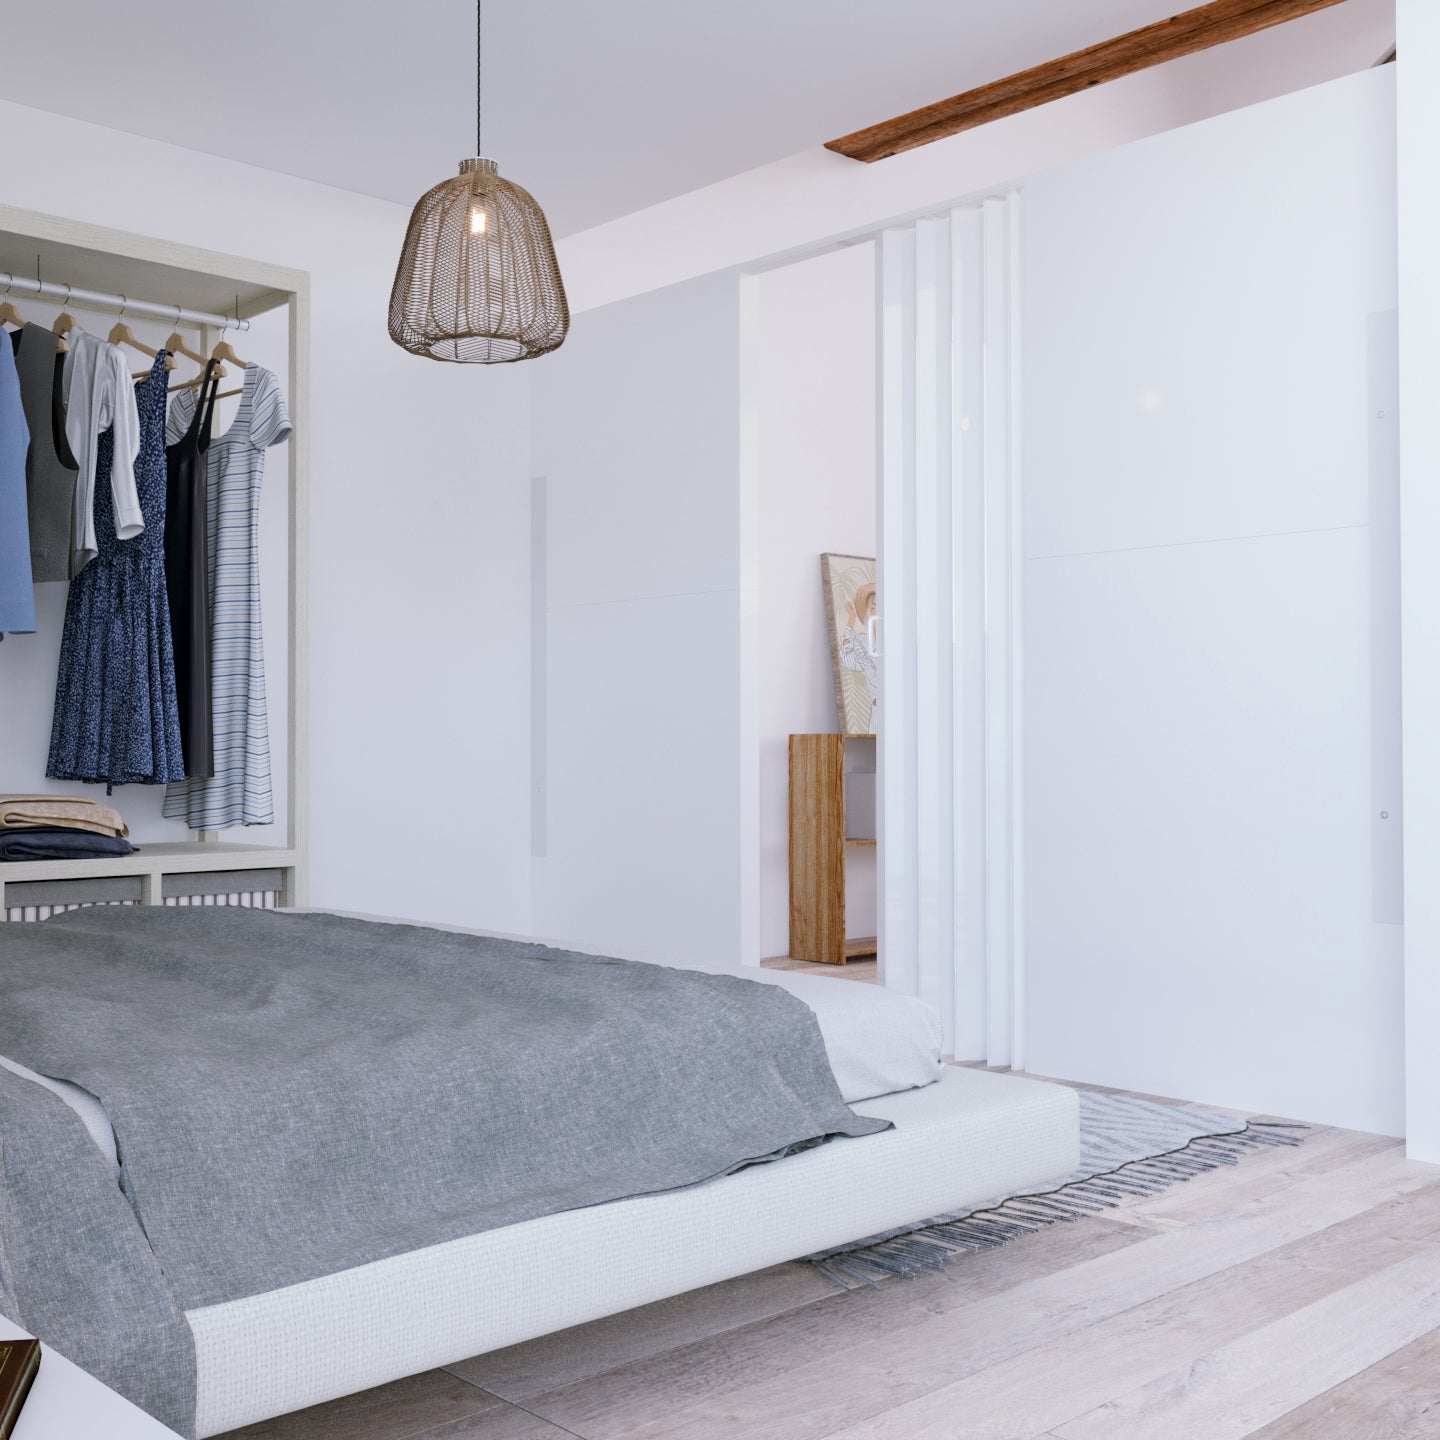
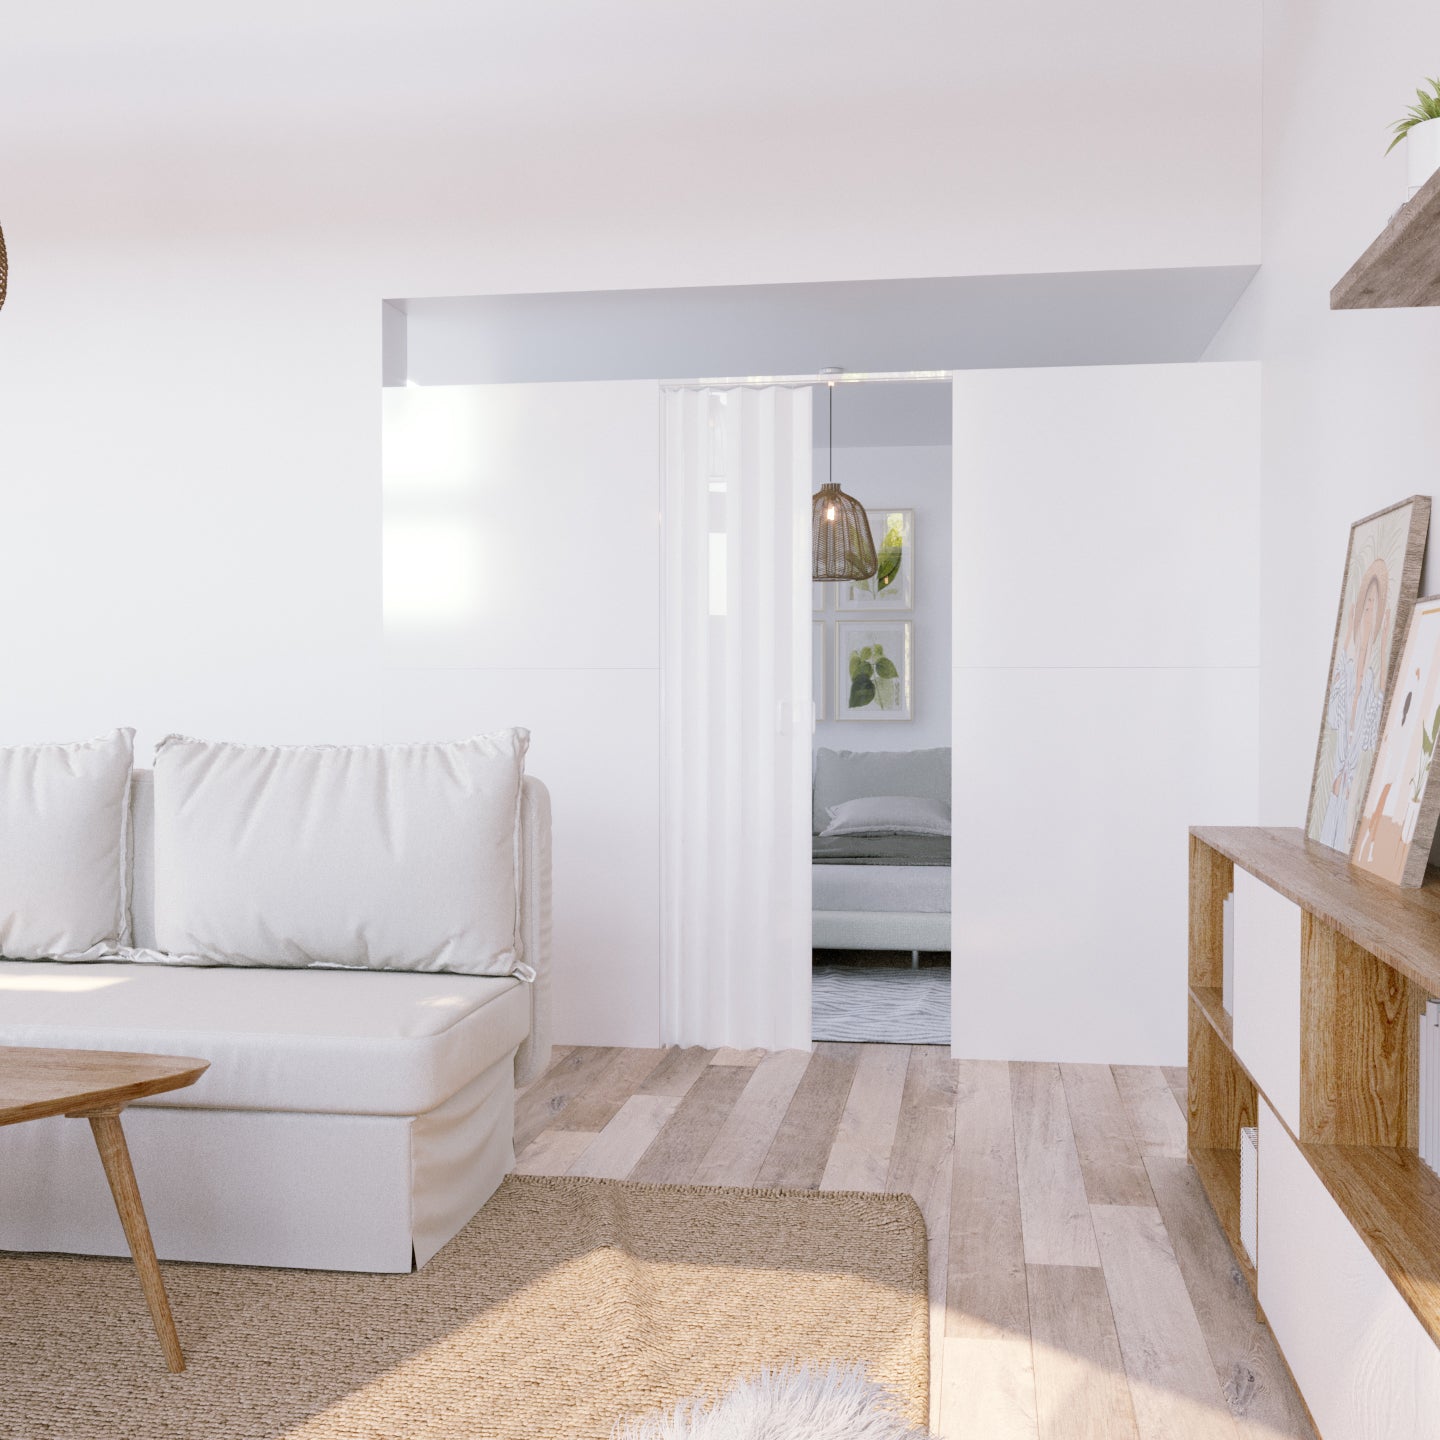
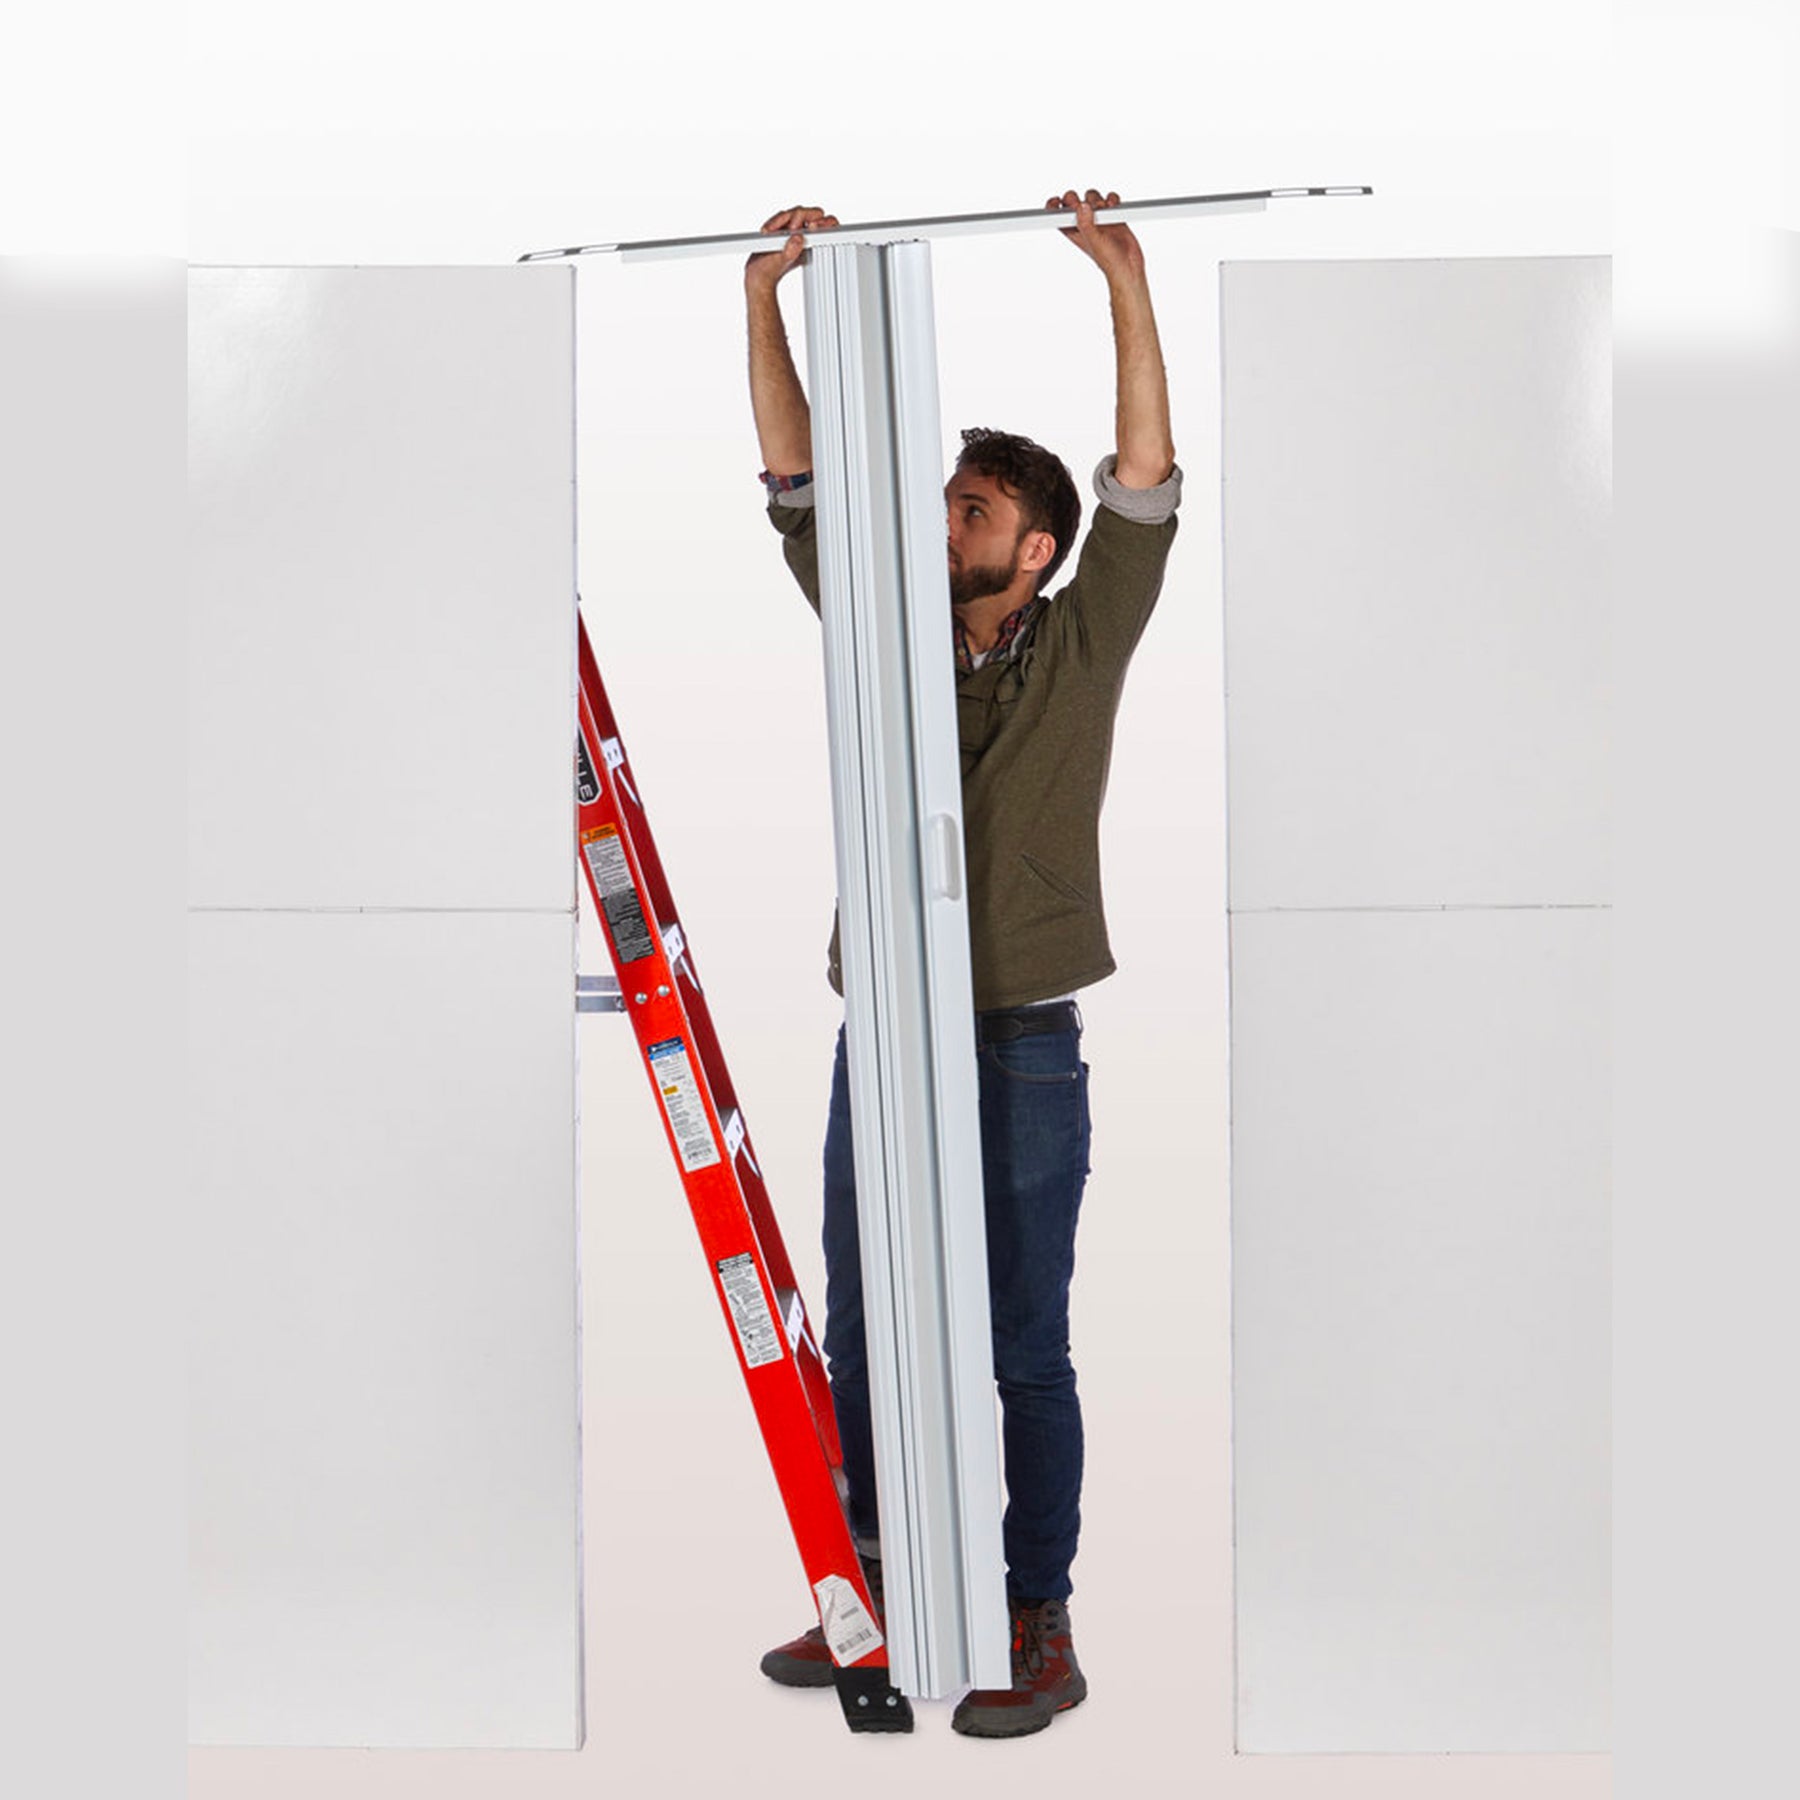
Perfect for making two rooms out of one, the Mounted Straight Divider with Door includes everything you need to assemble a sleek, modern, new modular wall with a door anywhere in your home.
To assemble, first snap the panels together using the included connectors, which fit into the receiving holes on each panel like life-sized puzzle pieces. Once the panels are connected, simply mount the Wall Mounting Bracket onto your existing wall and nest the assembled panels into the bracket. Finally, secure the wall kit by screwing the bracket into both your wall and the panels.
Need a custom size? Contact Us via live chat, email, or phone!
Wall + Anchor Panels
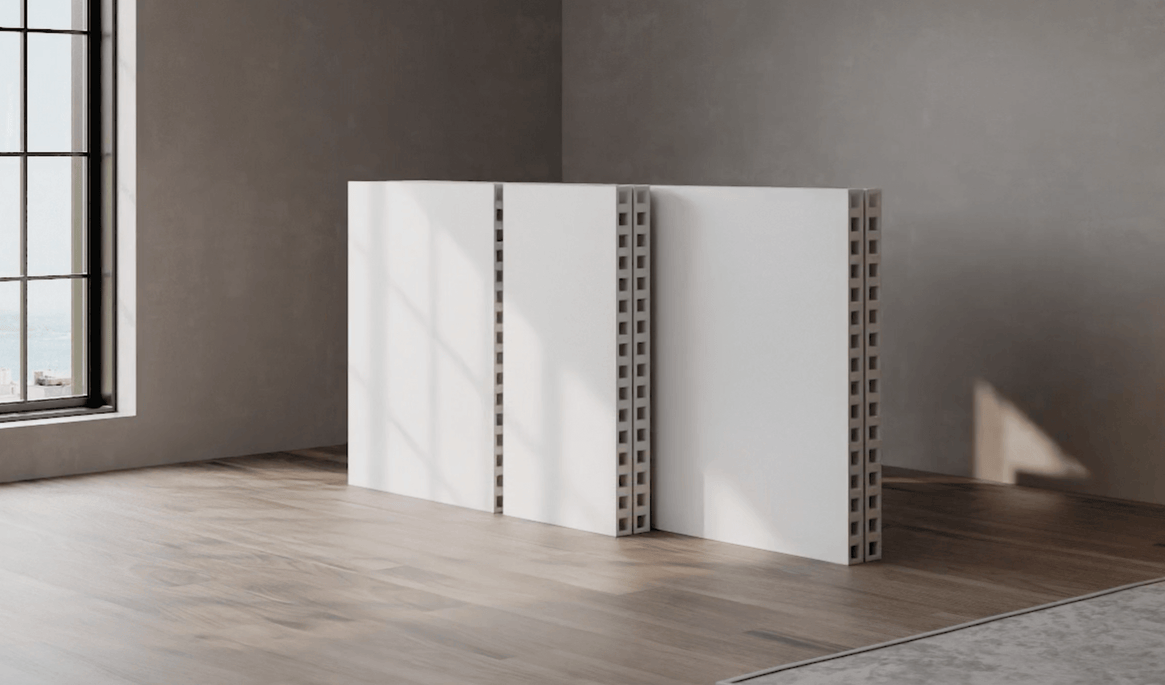
Our signature Wall and Anchor Panels are 3” thick and made of Moisture and Impact Resistant Fiberglass. For Wall Dividers that require half-foot width increments, 12” wide perpendicular return wall panels are added to achieve the desired width. All Wall and Anchor Panels snap together easily using Lug and 2-Way Connectors for a stable and secure fit.
Wall Mounting Brackets (x2)
The Wall Mounting Brackets allow you to easily attach your new Wall Divider to your existing walls. Made of PVC, the bracket is designed to be strong yet flexible and easy to drill into. Simply drill two holes through the bracket into your wall, insert the included screws, nest the panels into the corner of the bracket, and add two more screws into the side of your panels. For detailed instructions, see the "assembly" tab above.
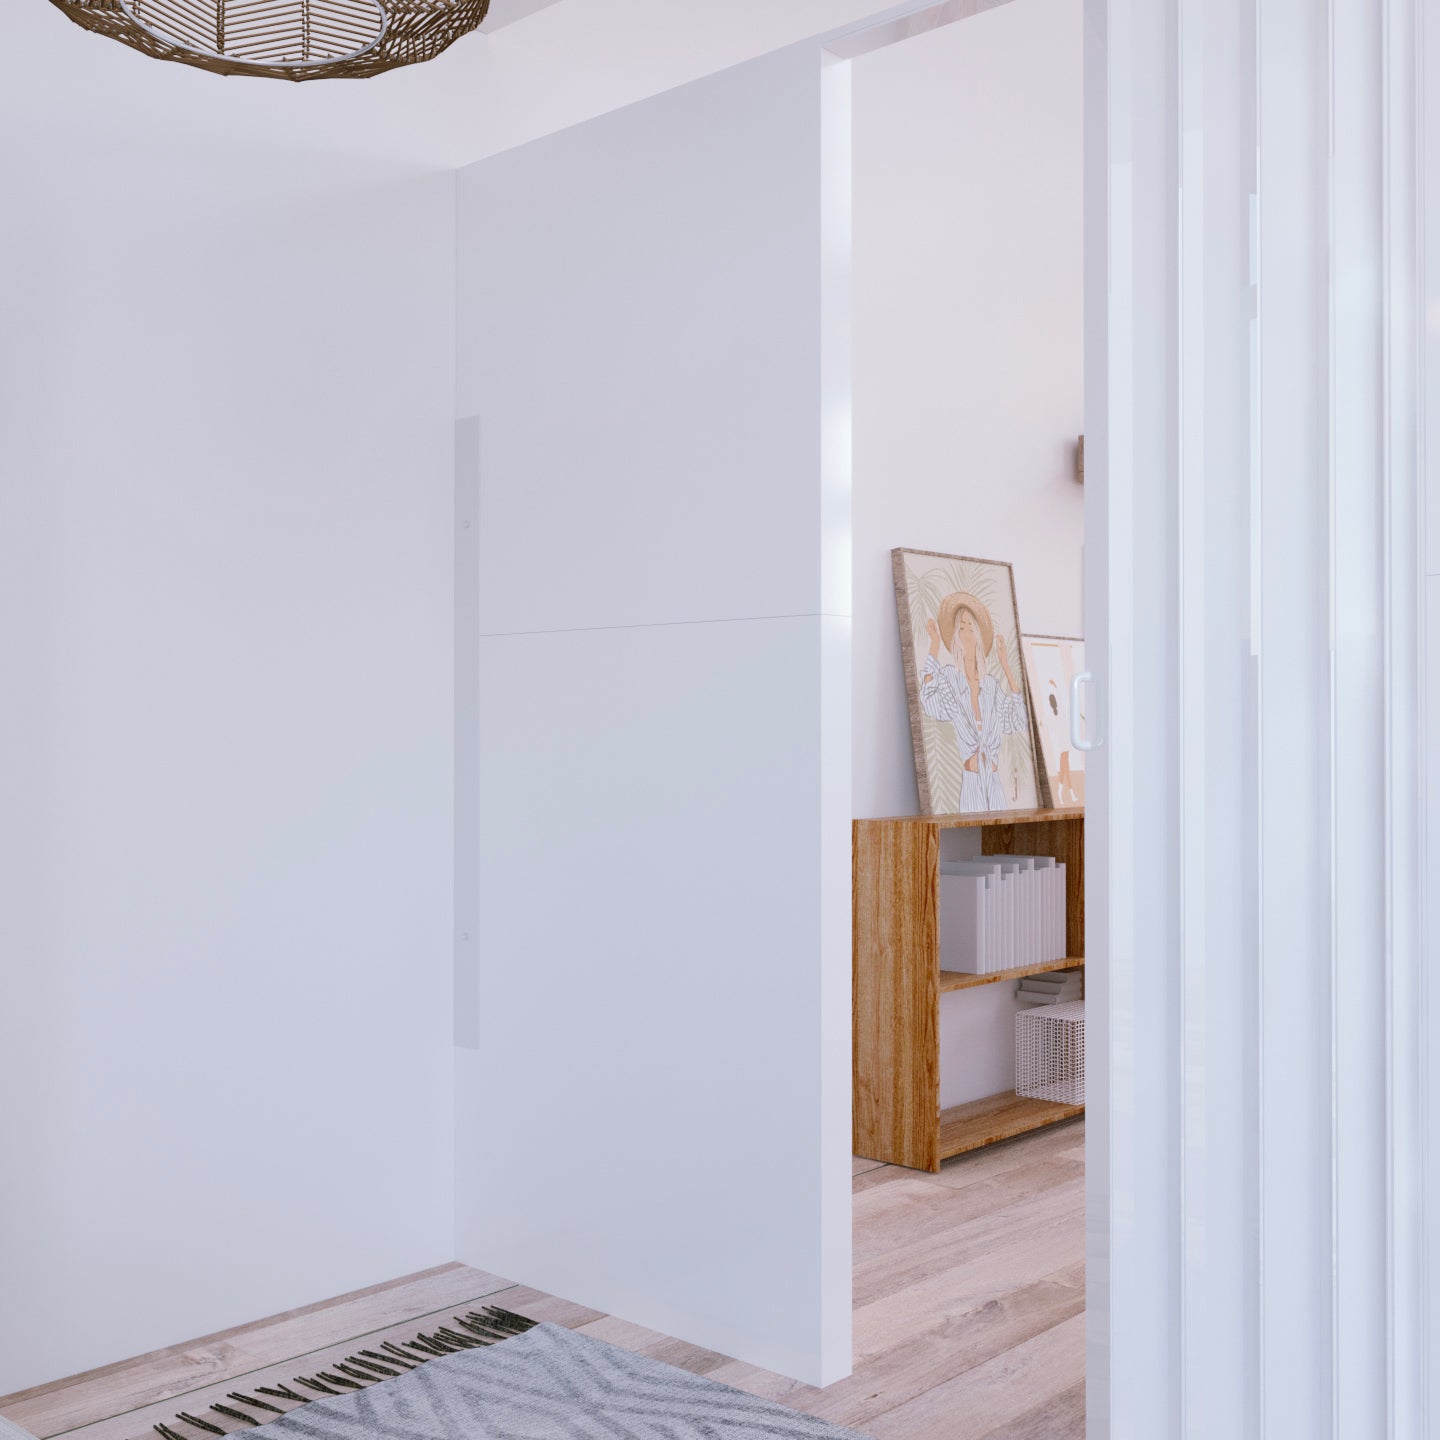
Accordion Door Kit
The included accordion door kit is 36" wide with a maximum opening of 30".
It includes a specialized lintel piece with a track that allows the door to be easily assembled and installed on our modular walls. The door kit includes a double-sided handle, and an integrated magnet to hold the door in position when closed.
Note the door is placed on the width of the wall in the most economical position. If you have a special request for the door placement reach out to us, and we can customize the kit to match your requirements (additional costs may apply)
Lug and 2-Way Connectors
Included connectors are easily snapped into the panels, creating an ultra-secure connection between panels from all sides. These connectors allow you to connect panels to each other in seconds, making for easy assembly.
Finishing Caps
Finishing caps are used to close off any exposed connector holes, giving the exterior of your wall a clean, finished look! Your kit includes enough caps to seal off the entire perimeter of your wall.
For walls above 6' in height, finishing caps for the top are not included, as the top is out of view. Extra finishing caps can be purchased from our 'Accessories' page.
Because this model is attached on both sides to your existing walls, you'll want to measure your space.

1. Ceiling height: Your ceiling should be at least 2 inches higher than the height of the wall you're purchasing.
For example, the minimum ceiling height for the 8' wall to be assembled comfortably is 8'2". Do not try to fit an 8' wall under an 8' ceiling, without a small gap it will be impossible!
2. Wall-to-wall width: The included wall mounting brackets are 3"x3" wide. This gives you around 3" of leeway (1.5" on each side) when it comes to the maximum width of your space from wall-to-wall.
For example, if you're looking at the 138" wall kit, the wall-to-wall width of your space can be anywhere between 138"-141".
3. Floor width: The width of your room along the floor (from the inside of the baseboard on each side) should be no less than the width of the wall you're purchasing.
For example, if you're looking at the 138" wall kit, from baseboard-to-baseboard should be no less than 138".
Do also make sure to check your floor for dips and bulges. Uneven flooring can impact the installation of your product.
Door Positioning
By default doors are placed in the most economical position. If you have a preference for the placement of the door, please reach out to us, and we can check if that is possible with your dimensions, or if we can do a custom order for you.
Note that doors do need to have a least 1ft of wall panel on each side.
Have a question about measurements? Your space doesn't seem to fit any of our available sizes? Contact us, we probably have a custom configuration that works for your space!
Our wall kits are designed to be completely DIY. Two people can typically assemble and install any of our wall kits in 90 minutes or less*, with little to no tools needed.
Note that a drill and/or screwdriver is recommended for installing the accordion doors and mounting the wall kit to your existing walls.
If you have any questions regarding assembly feel free to give us a call on (855) 348-4330, email us at hello@diyversify.com or send us a chat right here on our website. We are available Monday-Friday 9AM to 5PM (est).
*Depending on the size of your wall kit
Shipping
Orders ship from local warehouses and are typically delivered in 5-15 business days. After you place your order, you will receive a confirmation email. Once your order is processed and shipped, you will receive tracking info via email.
Our modular wall kits are shipped via freight on a pallet and delivered curbside. You’ll be contacted 1-2 days prior to delivery to schedule a time, and a signature is required.
When the courier arrives, they will lower the pallet to the ground at the curb or driveway, and you’ll be responsible for moving the panels inside and disposing of the packaging and pallet. Accessories may arrive separately as regular parcels.
If you have any questions about shipping (or anything else), feel free to contact us via live chat, phone or email.
*Free shipping available to the Contiguous United States. Excludes Alaska, Hawaii, and U.S. Territories.
Returns
Please see our Return Policy.
Warranty
This product is guaranteed by a Two Year Warranty.
What is the difference between "Freestanding" and "Mounted" wall kits?
Freestanding Wall Kits stand securely on their own without the need for attachment to your existing walls, leaving no marks when removed. Anchor panels at each end provide stability.
Mounted Wall Kits are secured to your existing walls using the included mounting brackets and a few screws on each end. This option provides maximum stability, making it ideal for more permanent or secure installations.
I don't find my dimensions? Can you do custom orders?
Yes, we offer custom orders with width and depth options in 3-inch increments and height options in 1-foot increments, up to a maximum of 10 feet. Please fill out our Custom Quote Form, and we’ll provide a free custom quote within 24 hours.
Alternatively, you can reach us by email (hello@diyversify.com), chat, or phone at 855-348-4330 for assistance with your custom request.
Can the L-shaped or F-shaped walls turn in any direction?
Yes, our L-shaped and F-shaped wall kits can be connected in any direction, so the layout is fully interchangeable to fit your space.
Can the doors be locked?
The swing doors come with a standard lock and key. The accordion doors do not include locks, but many customers choose to add their own hasp locks for security.
Can I hang pictures or shelves on the walls?
Yes, the panels are stable enough to hang pictures, paintings, and even decorative shelves, making them great for gallery or display walls. You can drill into the panels for mounting screws or use wire loops around lugs at the top of the wall. However, we recommend avoiding heavy items or anything that projects too far from the wall, as this could create a weight imbalance.
Can I choose where the door is placed?
By default, doors are placed in the most economical position. If you have a preference, let us know, and we can check if it’s possible with your dimensions or arrange a custom order. Please note, doors need at least 1 foot of wall panel on each side.
Do you offer financing?
Yes, we offer financing through our partner Breadpay. You can learn more and apply here: Financing Options.
How does mounting work?
Our mounted wall kits include 4-foot-long wall mounting channels, which are secured to your existing walls and each end of the Diyversify walls with a few screws, ensuring a stable and secure installation.
More FAQS
For more FAQs, visit our full FAQ page. We also recommend checking out our Reviews, where many of our customers have answered common questions based on their own experiences with our products.
Need a custom size?
-
![]() 2 Year Guarantee
2 Year Guarantee
-
![]() Free Shipping
Free Shipping
-
![]() DIY Assembly
DIY Assembly
-
![]() Semi-Permanent
Semi-Permanent