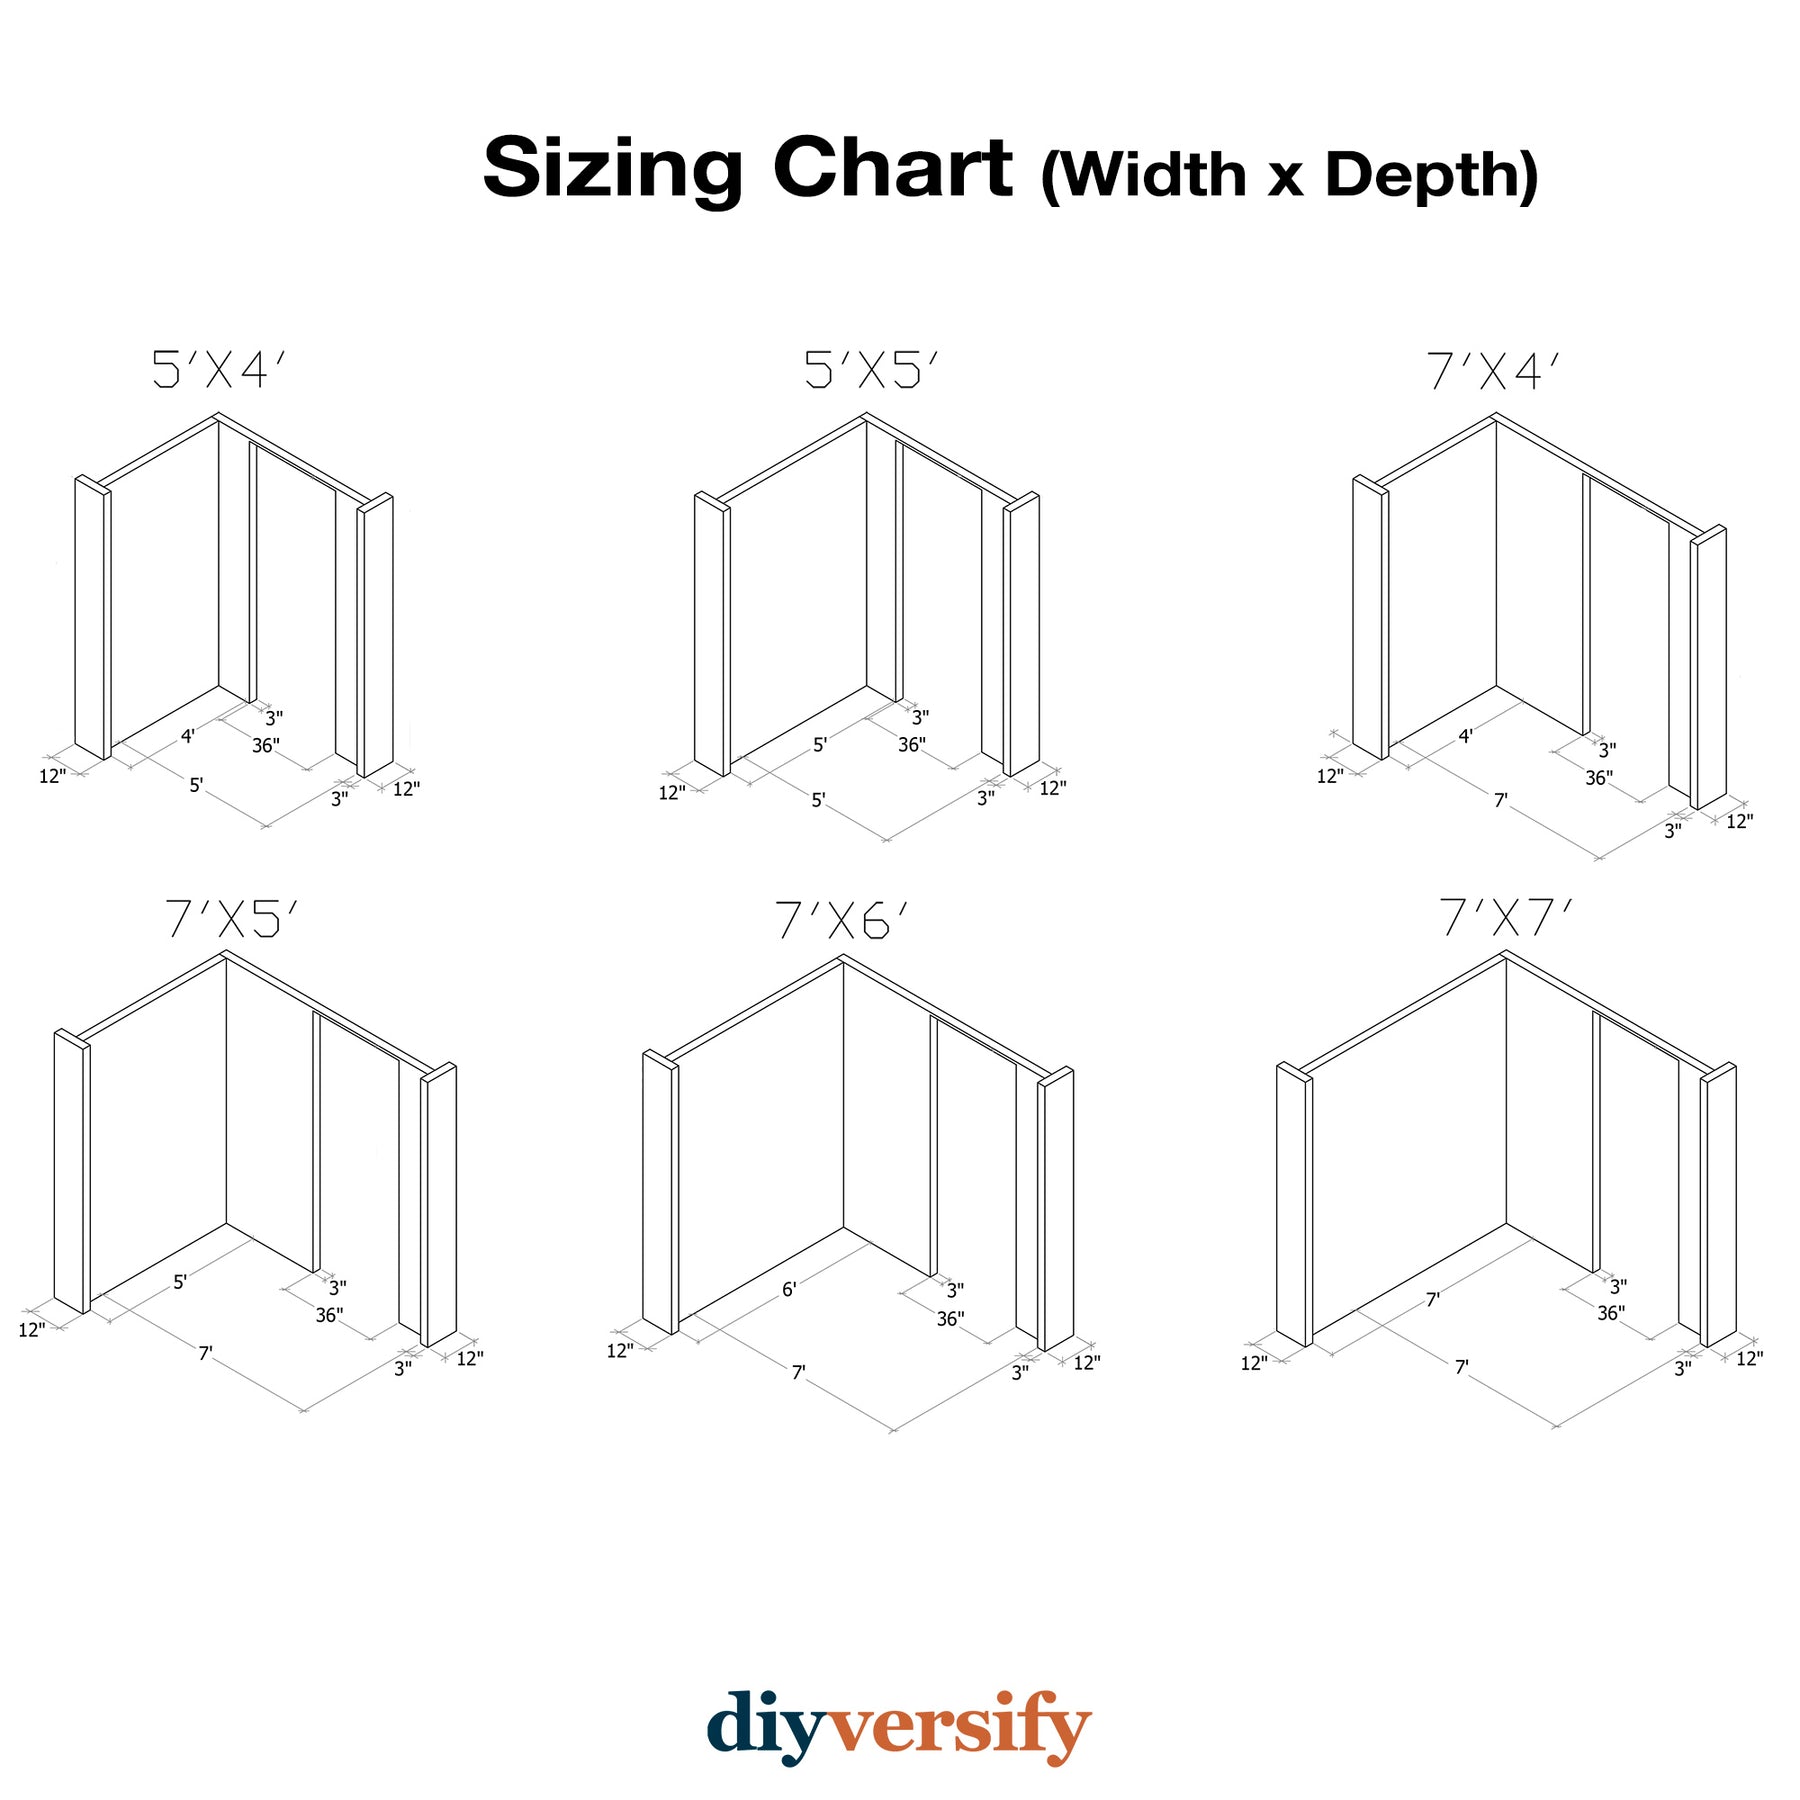
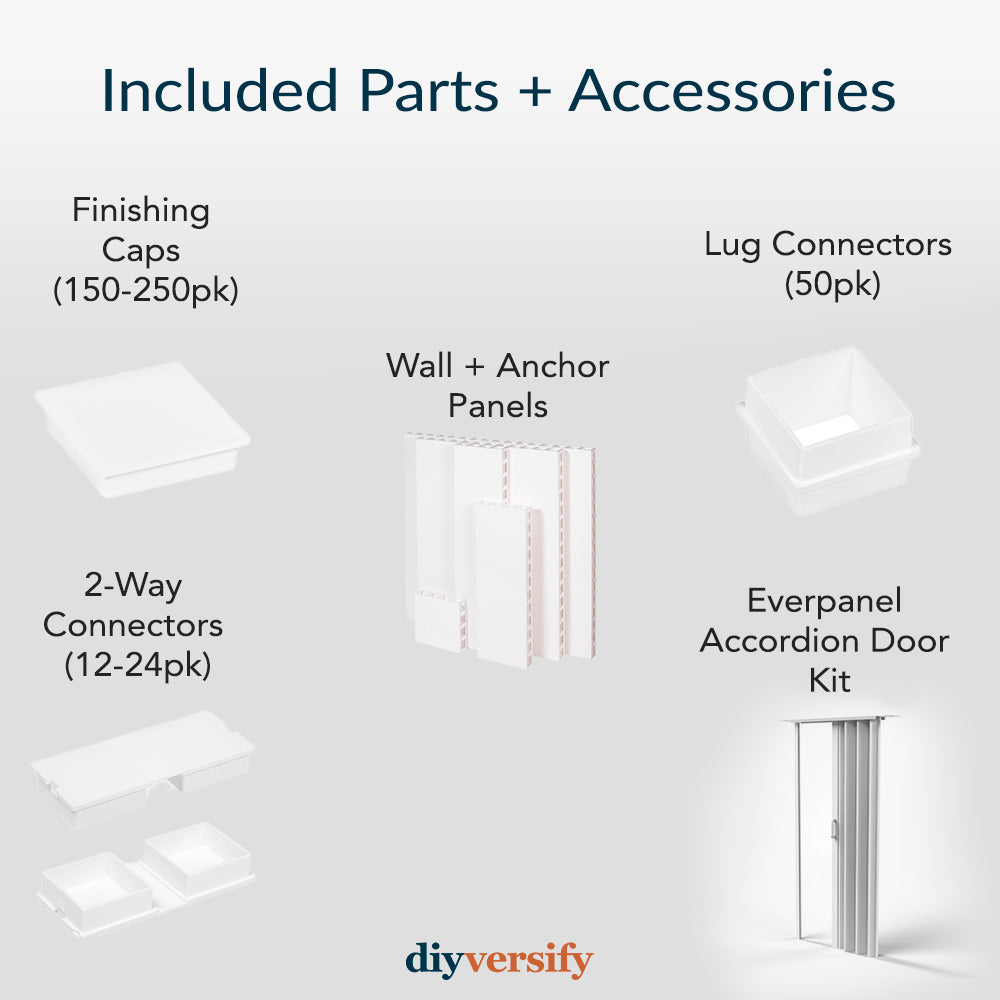
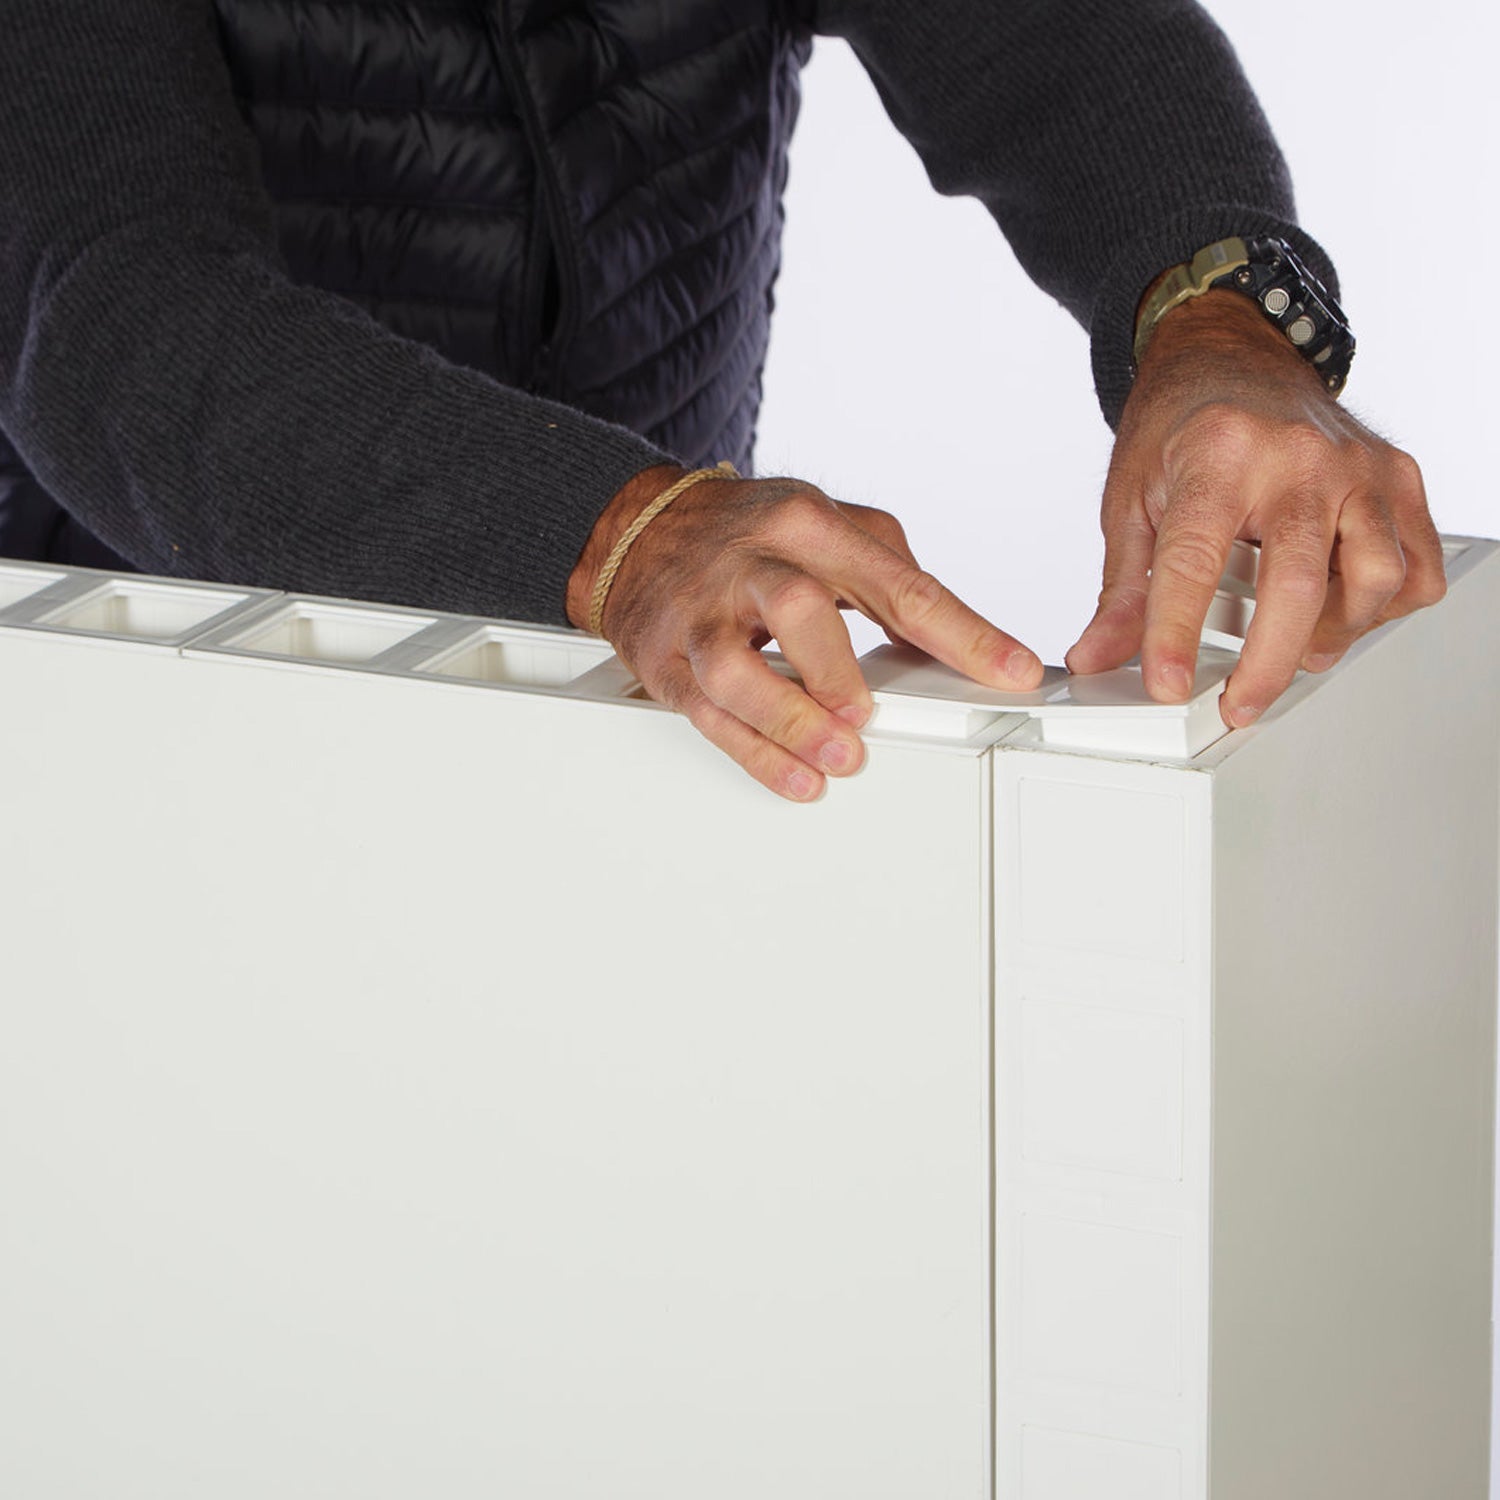
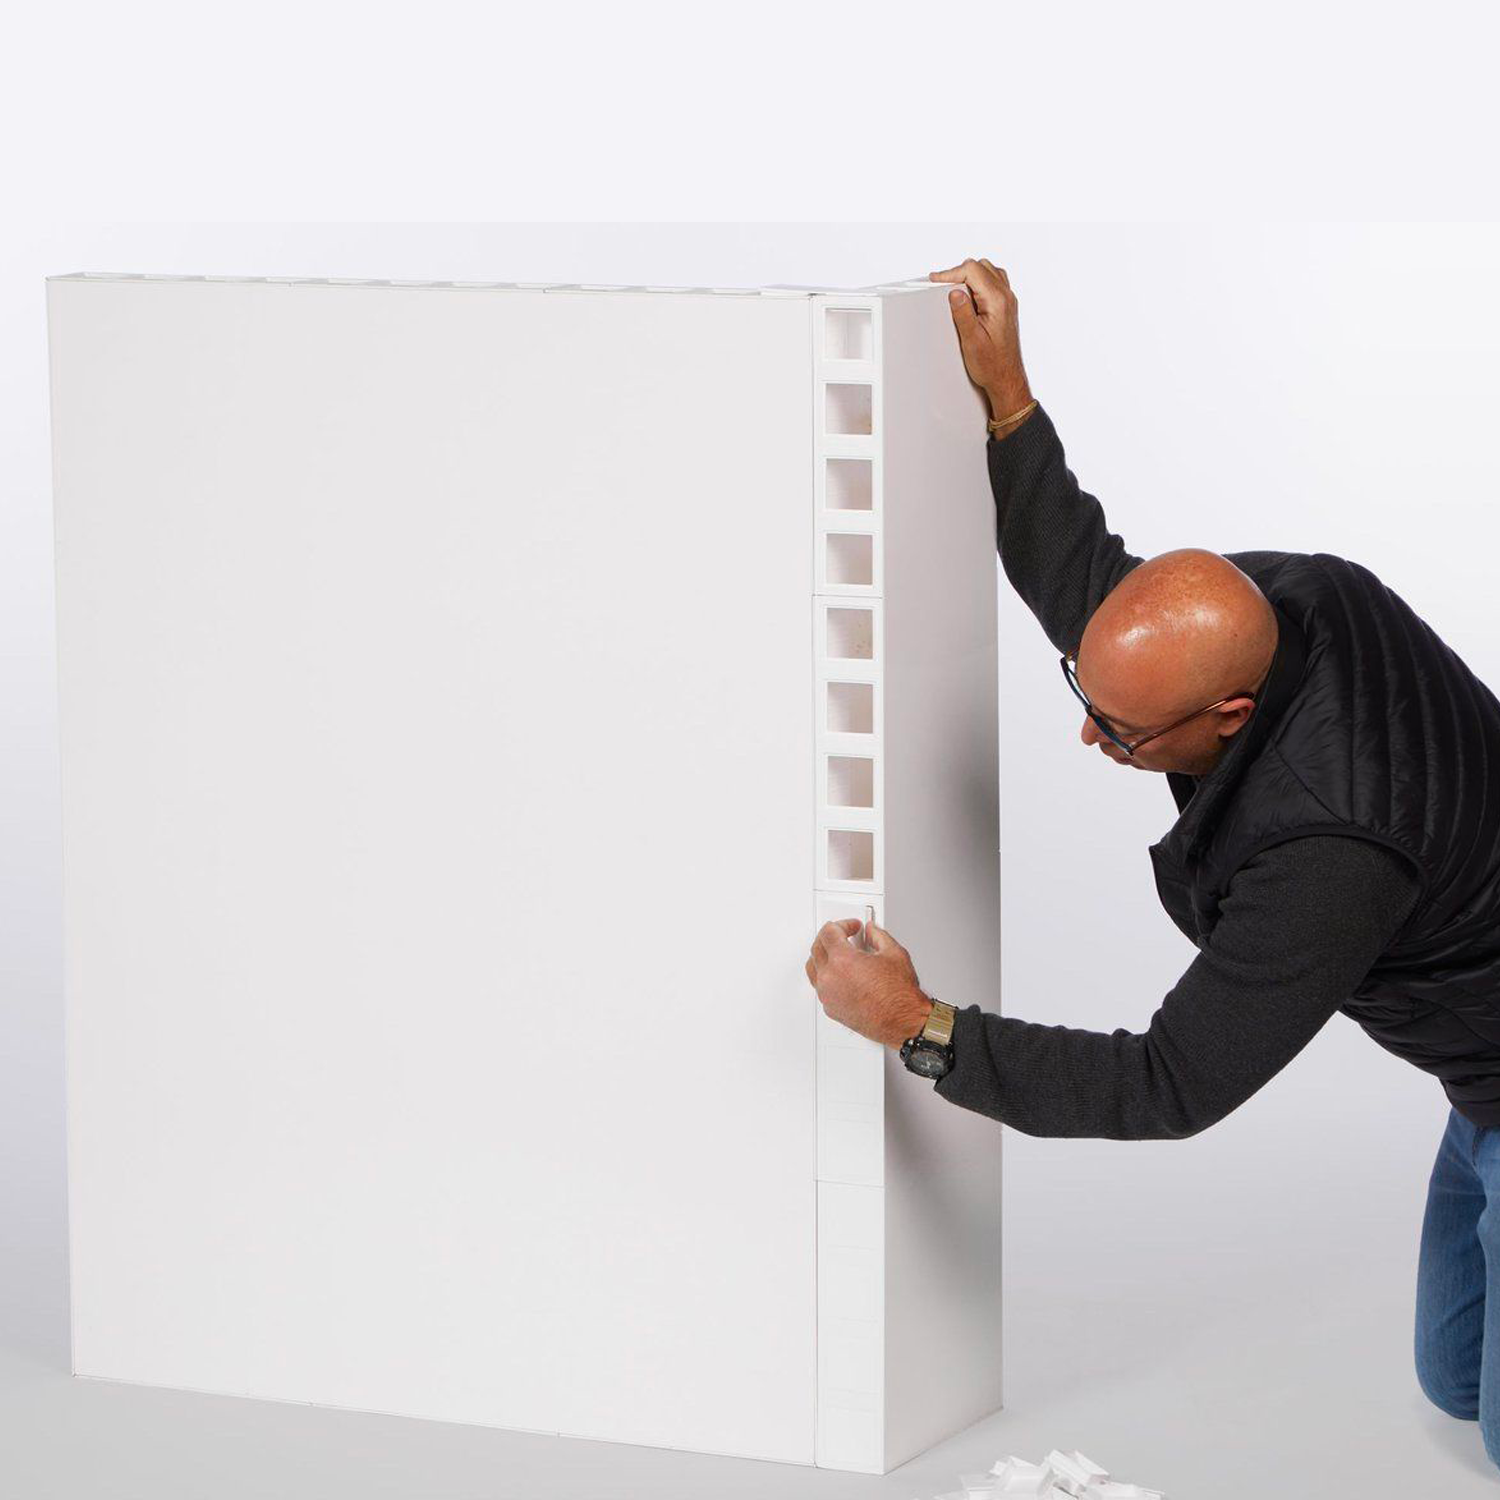
Wall Panels
3" thick wall panels crafted from Moisture and Impact Resistant Fiberglass. These panels are not only lightweight and sound-absorbing but also simple to maintain and clean. Assembly is straightforward, with panels snapping together using lug connectors, ensuring a stable and secure fit.
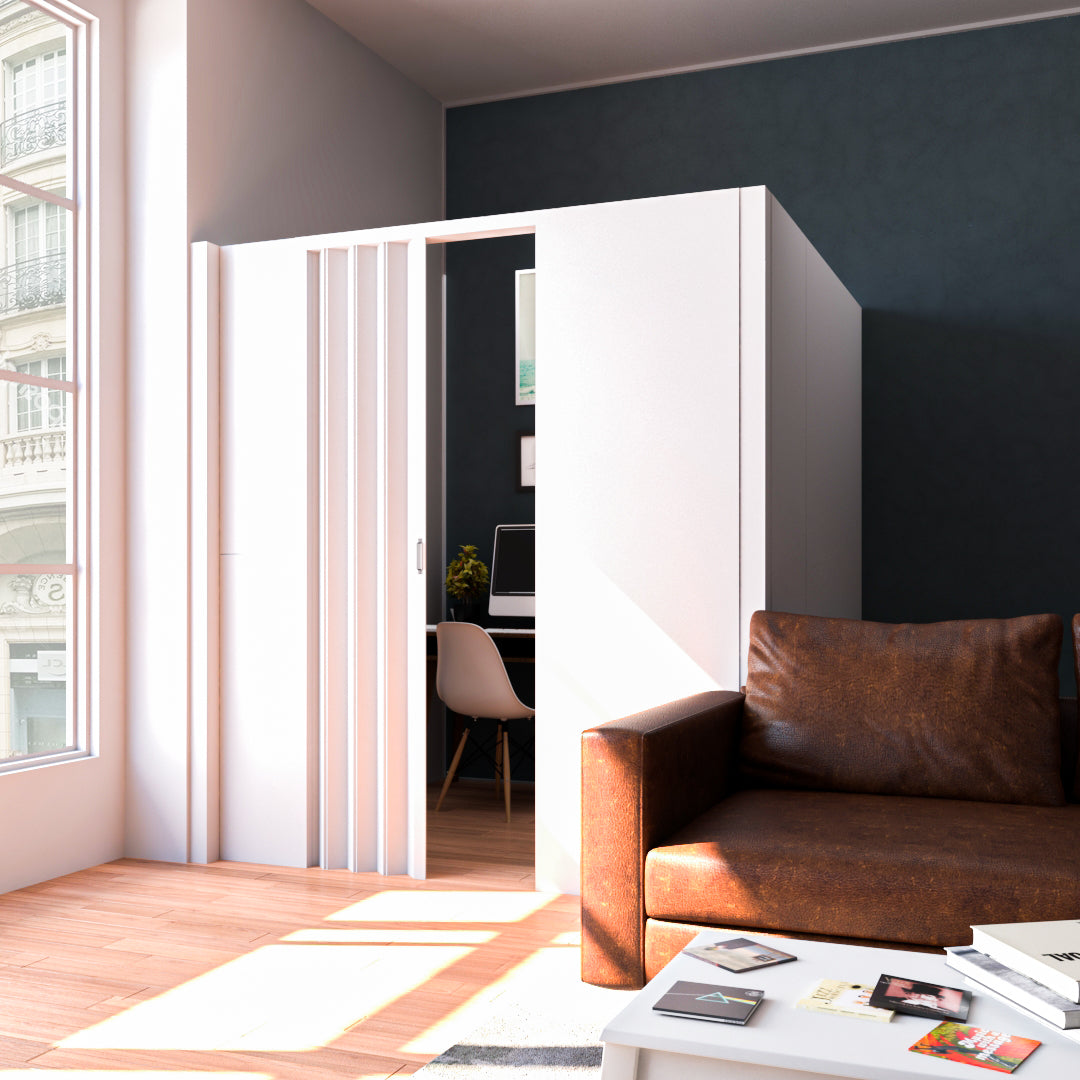
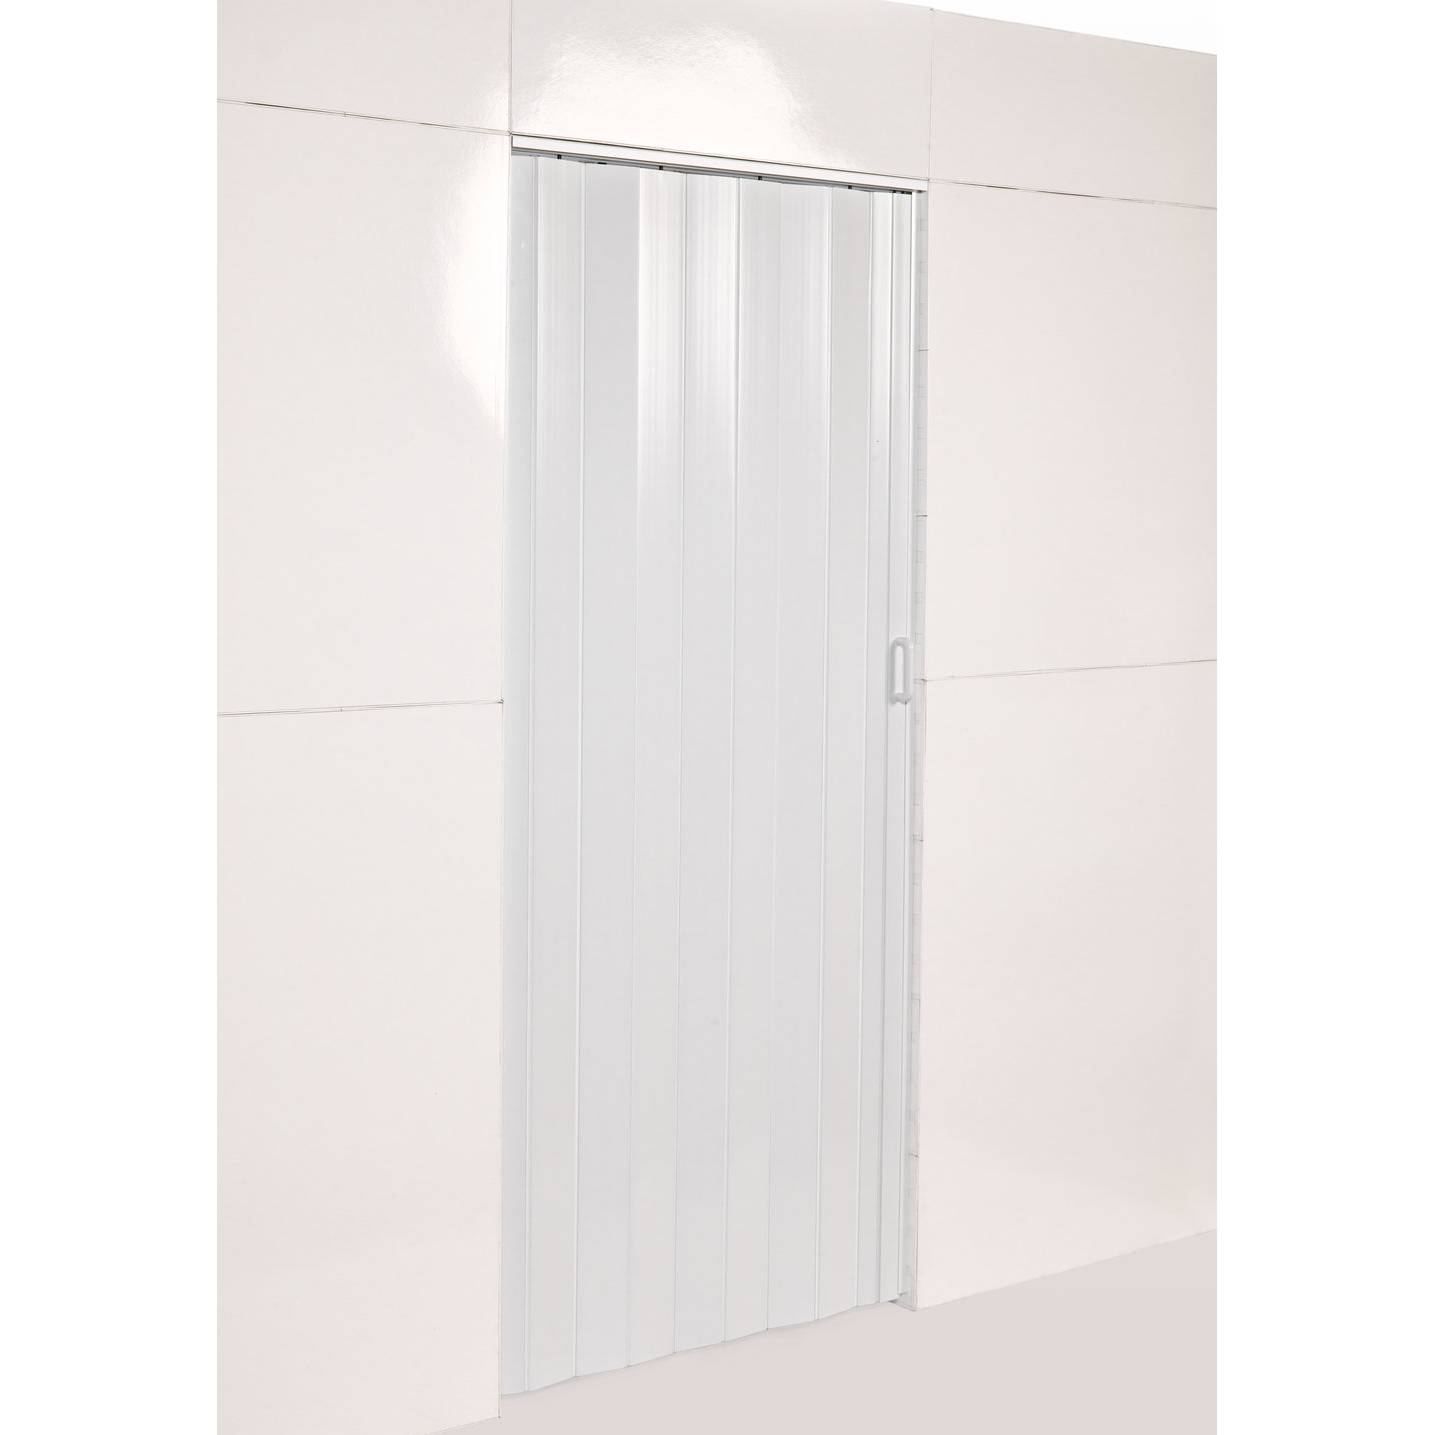
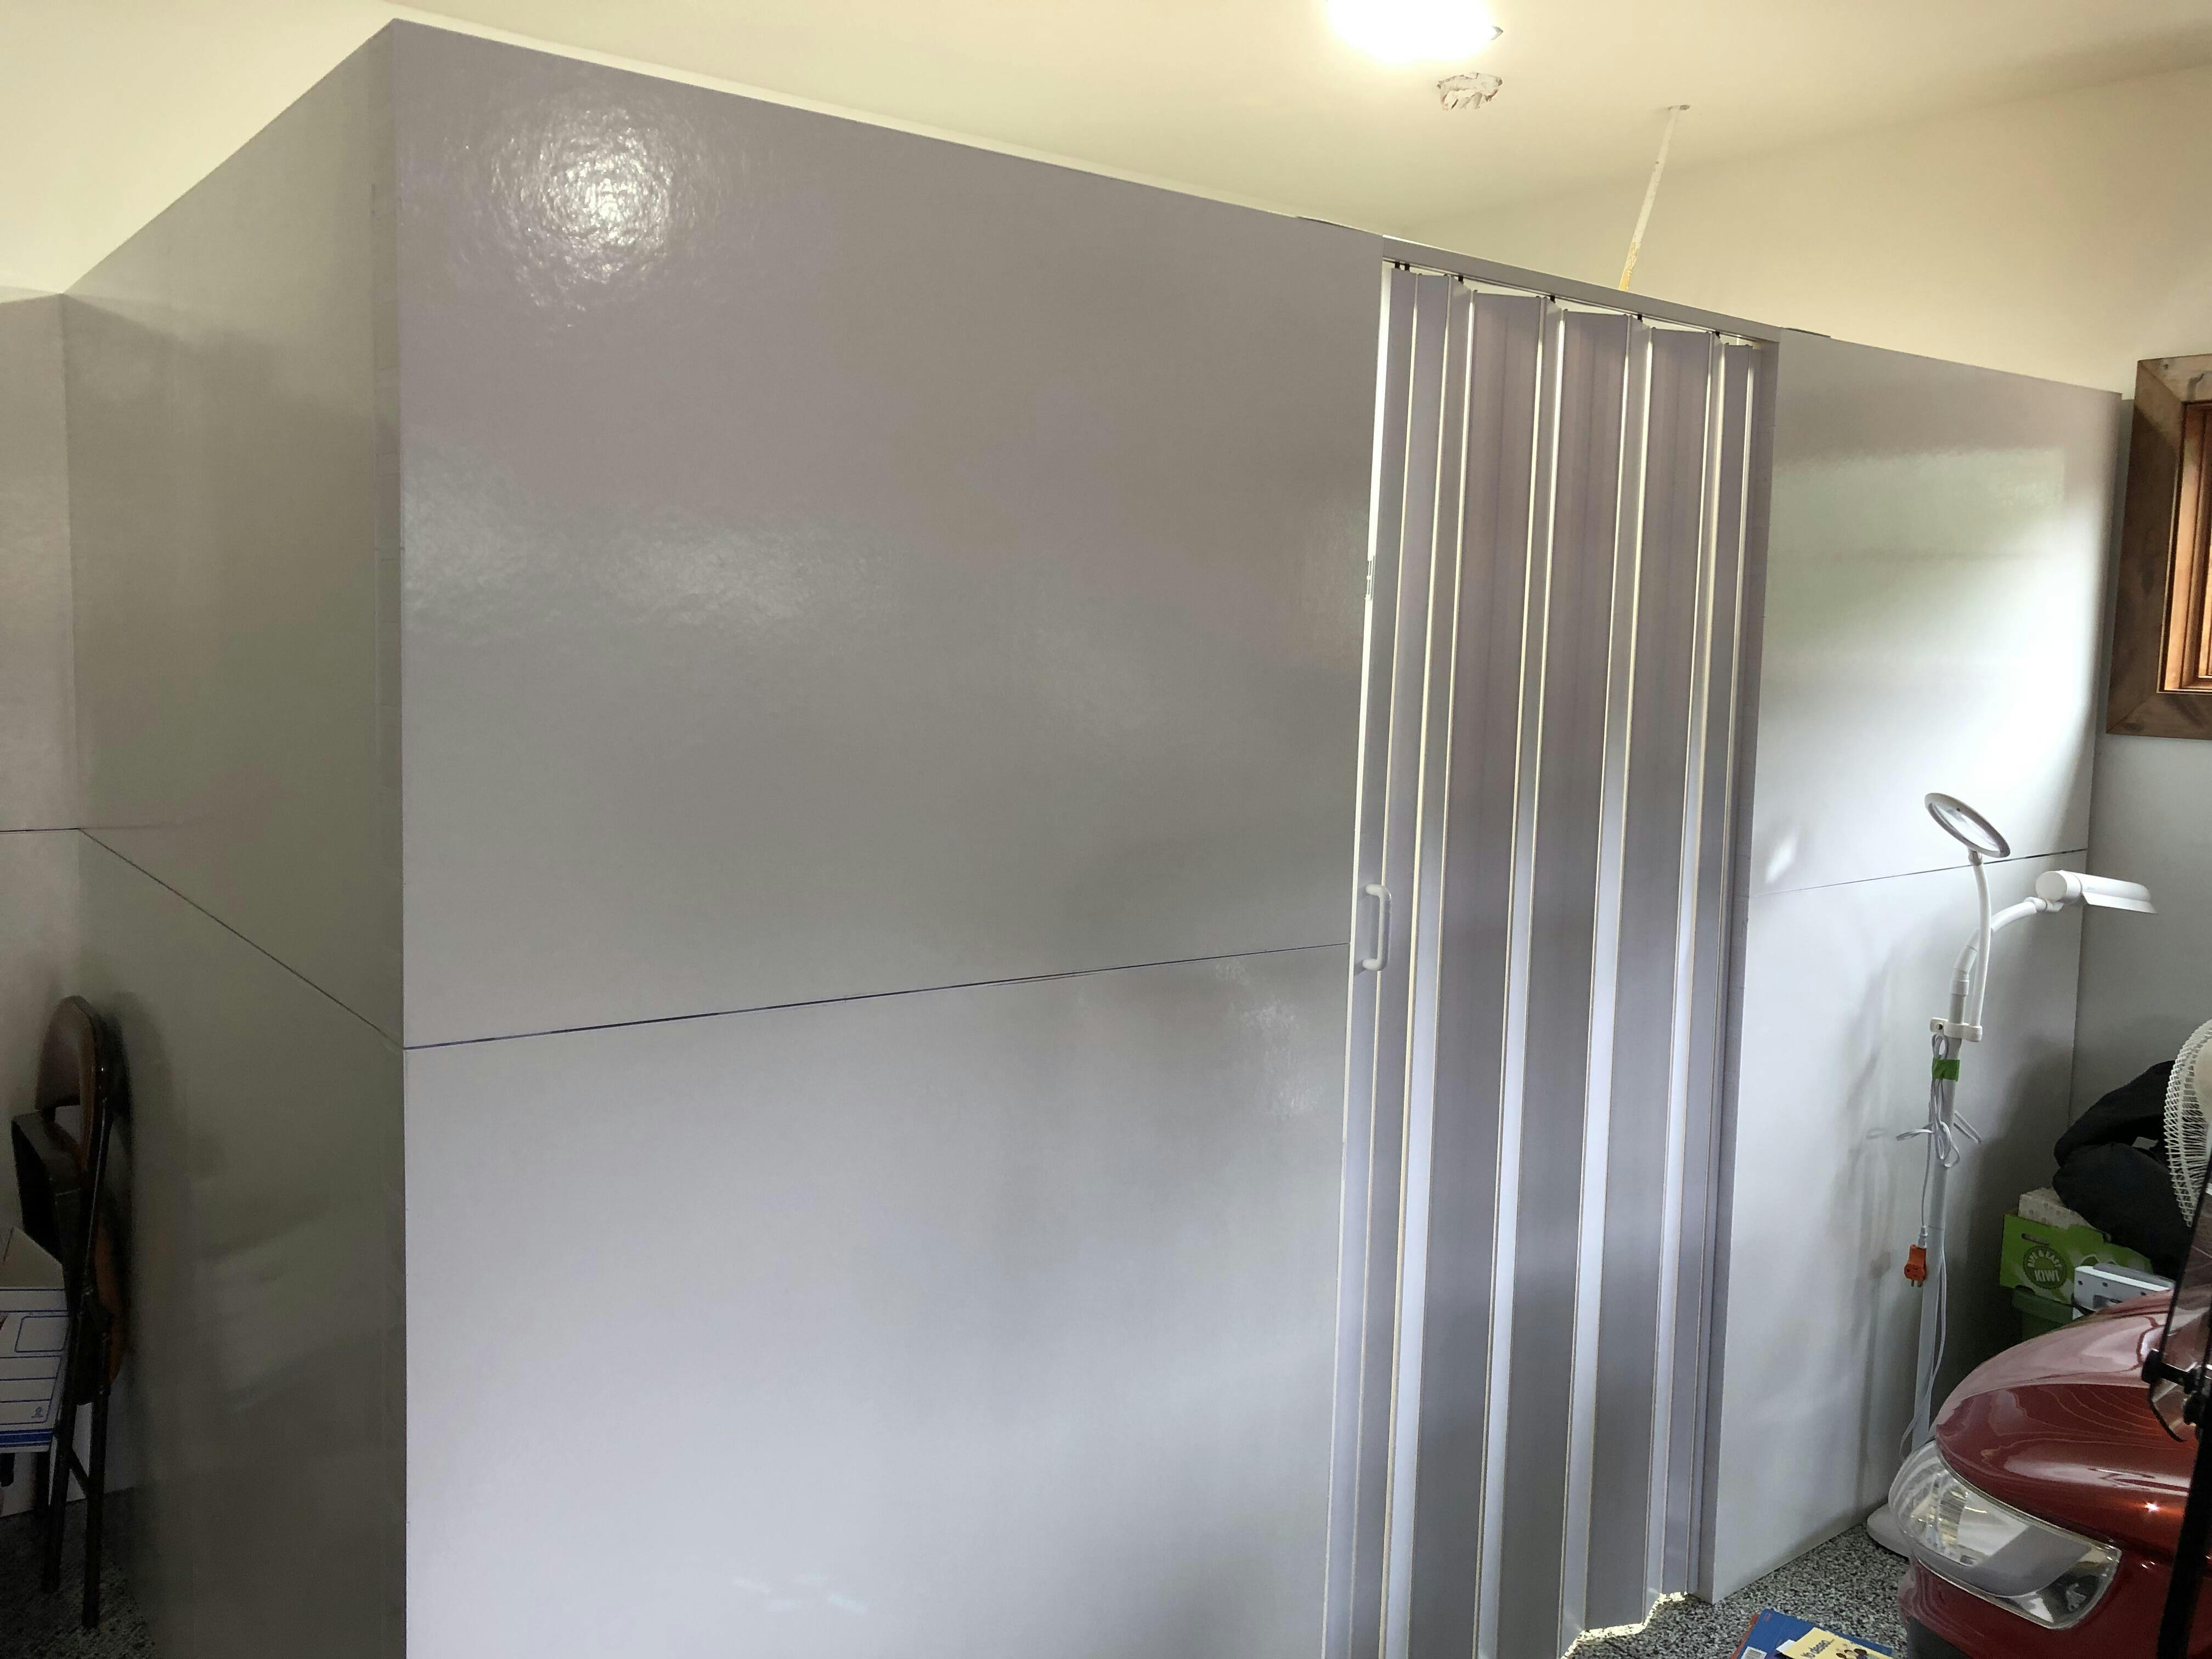
Accordion Door Kit
a 36" wide accordion door kit with height options of either 84" or 96", tailored to the height of the partition you choose. This kit features a specialized lintel, complete with a track designed exclusively for the accordion door. Installation is straightforward: just slide the folding door into its track and secure it between two panels, using the lug or 2-way connectors for a firm lock. To enhance functionality, each door comes with two thresholds, a double-sided handle, and three embedded magnets to keep it securely closed.
Please note that the door is strategically placed along the wall's width for optimal use of space. Should you desire a different door placement, don't hesitate to contact us. We're more than happy to customize the kit to suit your needs, though additional charges may apply.
Anchor Panels
Anchor panels are employed at the exposed ends of your wall to ensure maximum stability. These panels measure 12" in width and match the height of your wall at 4'. Easily affix them to the primary structure of your wall using Lug and 2-Way Connectors.
Lug Connectors
Your kit includes two-way panel lug connectors, which snap into each panel and make for an ultra-secure two-way connection.
2-Way Connectors
Panels are held together using Lug Connectors, but also 2-Way Connectors, which keep them attached at the top and bottom. Just like the Lug Connectors and Finishing Caps, these connectors snap securely into the receiving holes found on all wall and anchor panels.
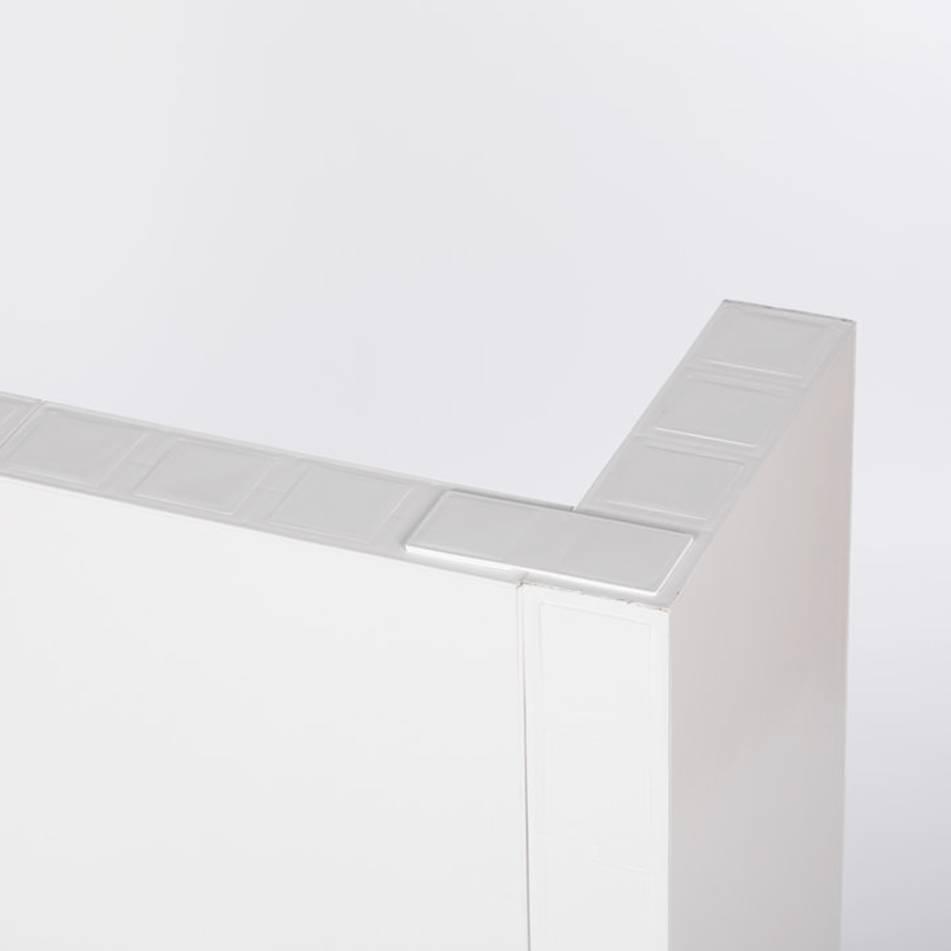
Finishing Caps
Finishing caps are used to close off any exposed connector holes, giving the exterior of your wall a clean, finished look! Your kit includes enough caps to seal off the entire perimeter of your wall. For walls above 6' in height, finishing caps for the top are not included. Extra finishing caps can be purchased from our Accessories.